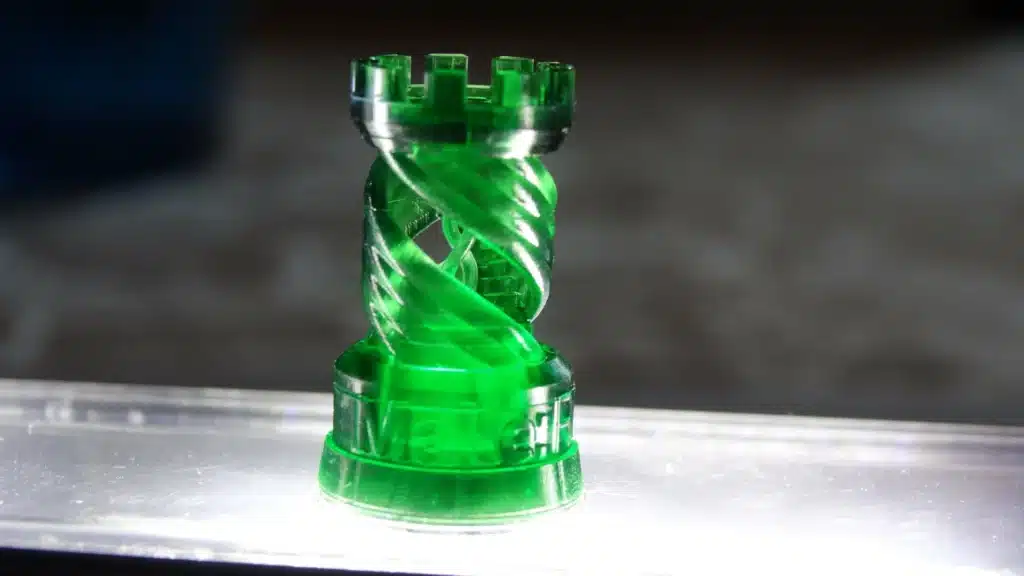
Among the many types of 3D printing, resin printing stands out for its precision and detail. For hobbyists, it’s the second most popular method after fused deposition modeling (FDM), which builds parts by extruding melted filament through a nozzle. Resin printing, on the other hand, uses light to cure liquid photopolymer resin layer by layer. Because of this process, models require extra steps like washing and curing during post-processing.
Resin printing itself comes in a few variations, each defined by the type of light source used. Stereolithography (SLA) relies on a laser beam guided by mirrors to trace each layer, digital light processing (DLP) projects an image of the layer onto the resin, while liquid crystal display (LCD) printing uses a screen to directly display each layer. While the technology differs, successful resin prints all depend on similar factors: exposure time, resolution, layer adhesion, anti-aliasing, and resin quality.
To fine-tune these settings, calibration models are invaluable. Each one highlights specific parameters to test and adjust. In this article, we’ll explore 10 of the most effective calibration models to help improve your resin printing results.
Interpreting Results

Before exploring the different calibration models available, it’s crucial to understand what really matters when evaluating a printed test piece. Both printer and resin manufacturers emphasize one thing above all: dialing in your exposure settings whenever you start with a new resin.
Preset profiles for a given resin-printer combination are a solid starting point, but they rarely deliver perfect results. Variables like equipment age, room temperature, and other subtle factors often affect the outcome. Fine-tuning exposure ensures you get the sharpest details possible from your resin.
Calibration models are particularly useful for this. They require only a small amount of resin, making them ideal for testing settings, checking print shrinkage, and avoiding costly mistakes before moving on to larger or more detailed prints.
While calibration models may vary in design, they often reveal the same exposure issues. Over-exposure tends to make raised details or embossed text look bloated or too close together, while under-exposure can cause thin pillars or fine features to fail entirely. For those looking to go deeper, resin makers like Anycubic and Phrozen provide excellent guides on interpreting calibration test results.
AmeraLabs Town

Created by AmeraLabs, a resin manufacturer from Lithuania, the Town is a versatile calibration model designed to evaluate both printer settings and resin performance. The model integrates ten distinct tests, represented by buildings extending at different angles, making it a popular choice in resin printing demonstrations and tutorials.
The first test examines slot widths ranging from 0.1 to 1 mm, helping to assess the printer’s light source quality and the accuracy of exposure times. The second evaluates varying opening heights, providing insight into layer adhesion and curing times based on how clearly the openings appear. The third features a cross-shaped bridge formed by two intersecting pillars; any warping or inconsistency here may indicate issues with layer height or even the resin itself.
And that’s just three of the ten tests—each one revealing valuable details about a resin printer’s overall performance.
Siraya Tech

Siraya Tech, a resin manufacturer based in Hong Kong (formerly part of Peopoly), developed a dedicated test model featuring five sections—three of which focus on checking printer exposure settings. Designed as a quick troubleshooting tool, it allows both exposure and resolution to be evaluated even if the model isn’t printed in full.
At just 3.5 mm in height, details such as the pinhole, recessed text, and triangular and circular shapes should already be visible. If the print continues, the additional features—the cube and the arch—serve to test printability and anti-aliasing performance.
Hidden City Calibration Cube

In 3D printing, calibration cubes are often used to fine-tune printer settings. But what if one carried a hidden surprise? Enter the Hidden City Calibration Cube – a clever design that conceals an entire skyline within a standard 20 mm cube.
Originally created for PLA, the designer also recommends testing it with resin. Thanks to resin’s ability to capture fine details, the cityscape becomes even more striking. When enthusiasts like Bastock printed it in resin, the results showed impressive depth and precision right from the first attempt.
Beyond its visual appeal, the compact city inside serves a practical purpose. It tests tolerances and resin viscosity while revealing how resin behaves in tightly packed, intricate spaces. By studying the results, users can fine-tune exposure settings or pigment levels to achieve sharper, more defined structures.
Prusa SL1 Calibration Object

Prusa, a long-time leader in FDM printing, was relatively late to enter the resin printing market. Still, they introduced a unique calibration model for the Prusa SL1 and SL1S, which comes preloaded on every SL1 printer. Once printed, this model helps users spot issues like missing features, merged geometry, deformations, or holes.
These imperfections act as a guide for fine-tuning key settings such as exposure time, layer height, and adhesion. For instance, if the model’s letters or numbers appear overly thick or fused, it signals overexposure. On the other hand, if the lenses in the glasses frames fail to print, the model is underexposed. By adjusting settings and reprinting, users can track improvements and dial in optimal results.
Validation Matrix

The Validation Matrix is the quickest model to print on this list and requires the least amount of resin. Designed with four distinct features, it focuses entirely on testing exposure balance. For accurate results, the designer recommends using at least four bottom layers. Thanks to its compact size and short print times, the Matrix has become a favorite in YouTube tutorials and beginner guides for resin printing.
When it comes to testing, the left side of the Matrix should display an equal number of pins and holes. At the center, a square holds two teardrop shapes that should just touch in the middle. The square itself measures 20 mm on each side, with a 1-mm edge along the right-hand side.
Michael’s Calibration Matrix

Michael’s Calibration Matrix is a refined set of tests designed to push resin printer calibration to the next level. Drawing inspiration from Phrozen’s Validation Matrix and Tableflips’s Cones of Calibration, this remix merges their strengths while introducing additional features for deeper testing. The design includes exposure triangles, cones of varying sizes, checkerboards, depth gauges, slits, and more.
Each component serves a distinct purpose, from evaluating printability and resolution to measuring dimensional accuracy. Cones, cylinders, and slits help determine the minimum width and height your printer can achieve, making it easier to fine-tune exposure settings and pigment ratios. The Matrix also integrates free-standing exposure trials and flat overhang checks to assess layer rigidity—critical for producing strong, long-lasting prints.
Beyond exposure and accuracy, it also addresses shrinkage and resin cleanup. Stacked three-layer cylinders allow users to measure shrinkage and drainage efficiency, while an M3 thread and nut provide a way to test leveling and thread-cutting capabilities.
With its wide variety of test elements, the Calibration Matrix stands as a complete and versatile benchmark print for resin printers.
Shrinkage & Exposure Calibration Piece

Looking to achieve accurate dimensions in your resin prints? The Shrinkage and Exposure Calibration Piece is designed to measure and compensate for resin shrinkage. Since resin typically shrinks by about 1–2% as it cures, this tool gives you a reliable way to determine material-specific shrinkage.
The designer recommends printing it with standard settings, placed flat on the build plate, and allowing it to cure fully. Once complete, the piece serves as a precise test print to evaluate shrinkage. Created by Jan Mrázek, the design comes in two versions: one for direct printing and another for use as a mold to create a silicone model.
This calibration model is valuable for anyone learning how resin behaves during curing, including shrinkage and exposure bleeding. After measuring the piece, there’s no need for manual calculations. A companion calculator instantly provides two key values: “XY model scale for compensation” and “tolerance compensation.” Enter these adjustments into your slicer, and you’ll be able to correct for shrinkage—resulting in resin prints that are both precise and dimensionally accurate.
Calibration Measurement

Achieving precise 3D prints starts with proper calibration, and this resin calibration measurement print is designed to make that process easier. Its main purpose is to validate your printer’s accuracy by testing five key lengths, ranging from 10 mm to 50 mm. A Vernier or digital caliper will be your go-to tool for these checks.
The model comes in two height options. The taller version (17 mm) is easier to measure, while the shorter one (7 mm) prints faster—giving you flexibility depending on your needs.
When measuring, use the caliper’s external jaws for the 50 mm, 30 mm, and 10 mm lengths, and the internal jaws for the 20 mm and 40 mm lengths. This ensures precise calibration across all dimensions.
Lattice Benchy 1

Want to push your printer’s resolution to the edge and highlight the fine details resin printing can achieve? The Lattice Benchy 1, a remix of the iconic 3DBenchy test model, is the perfect benchmark. With its smooth curves, tiny holes, and intricate lattice features, it’s designed to test and refine the limits of resin printer resolution.
Printing this model allows you to evaluate key performance factors—from surface finish and dimensional accuracy to overall precision. It also provides insight into how the entire system works together, from resin viscosity to the final printed result.
More than just a miniature tugboat, the Lattice Benchy 1 is a showcase of resin printing’s capabilities. Measuring 100 mm in length and featuring lattice structures as fine as 1 mm, it demonstrates just how precise resin printers can be.
Let’s bring your vision to life! Contact 3DX, today to discuss your 3d printing needs. Whether it’s refining a design, creating a prototype, or scaling up for production, we’ve got you covered.
Don’t wait—innovation starts here: 3DX Additive Manufacturing
Source: https://all3dp.com/2/best-resin-printer-test-print/